ChangingandShoweringatSwimLessons:HowYourChildLearnstoDoItIndependently[2026]
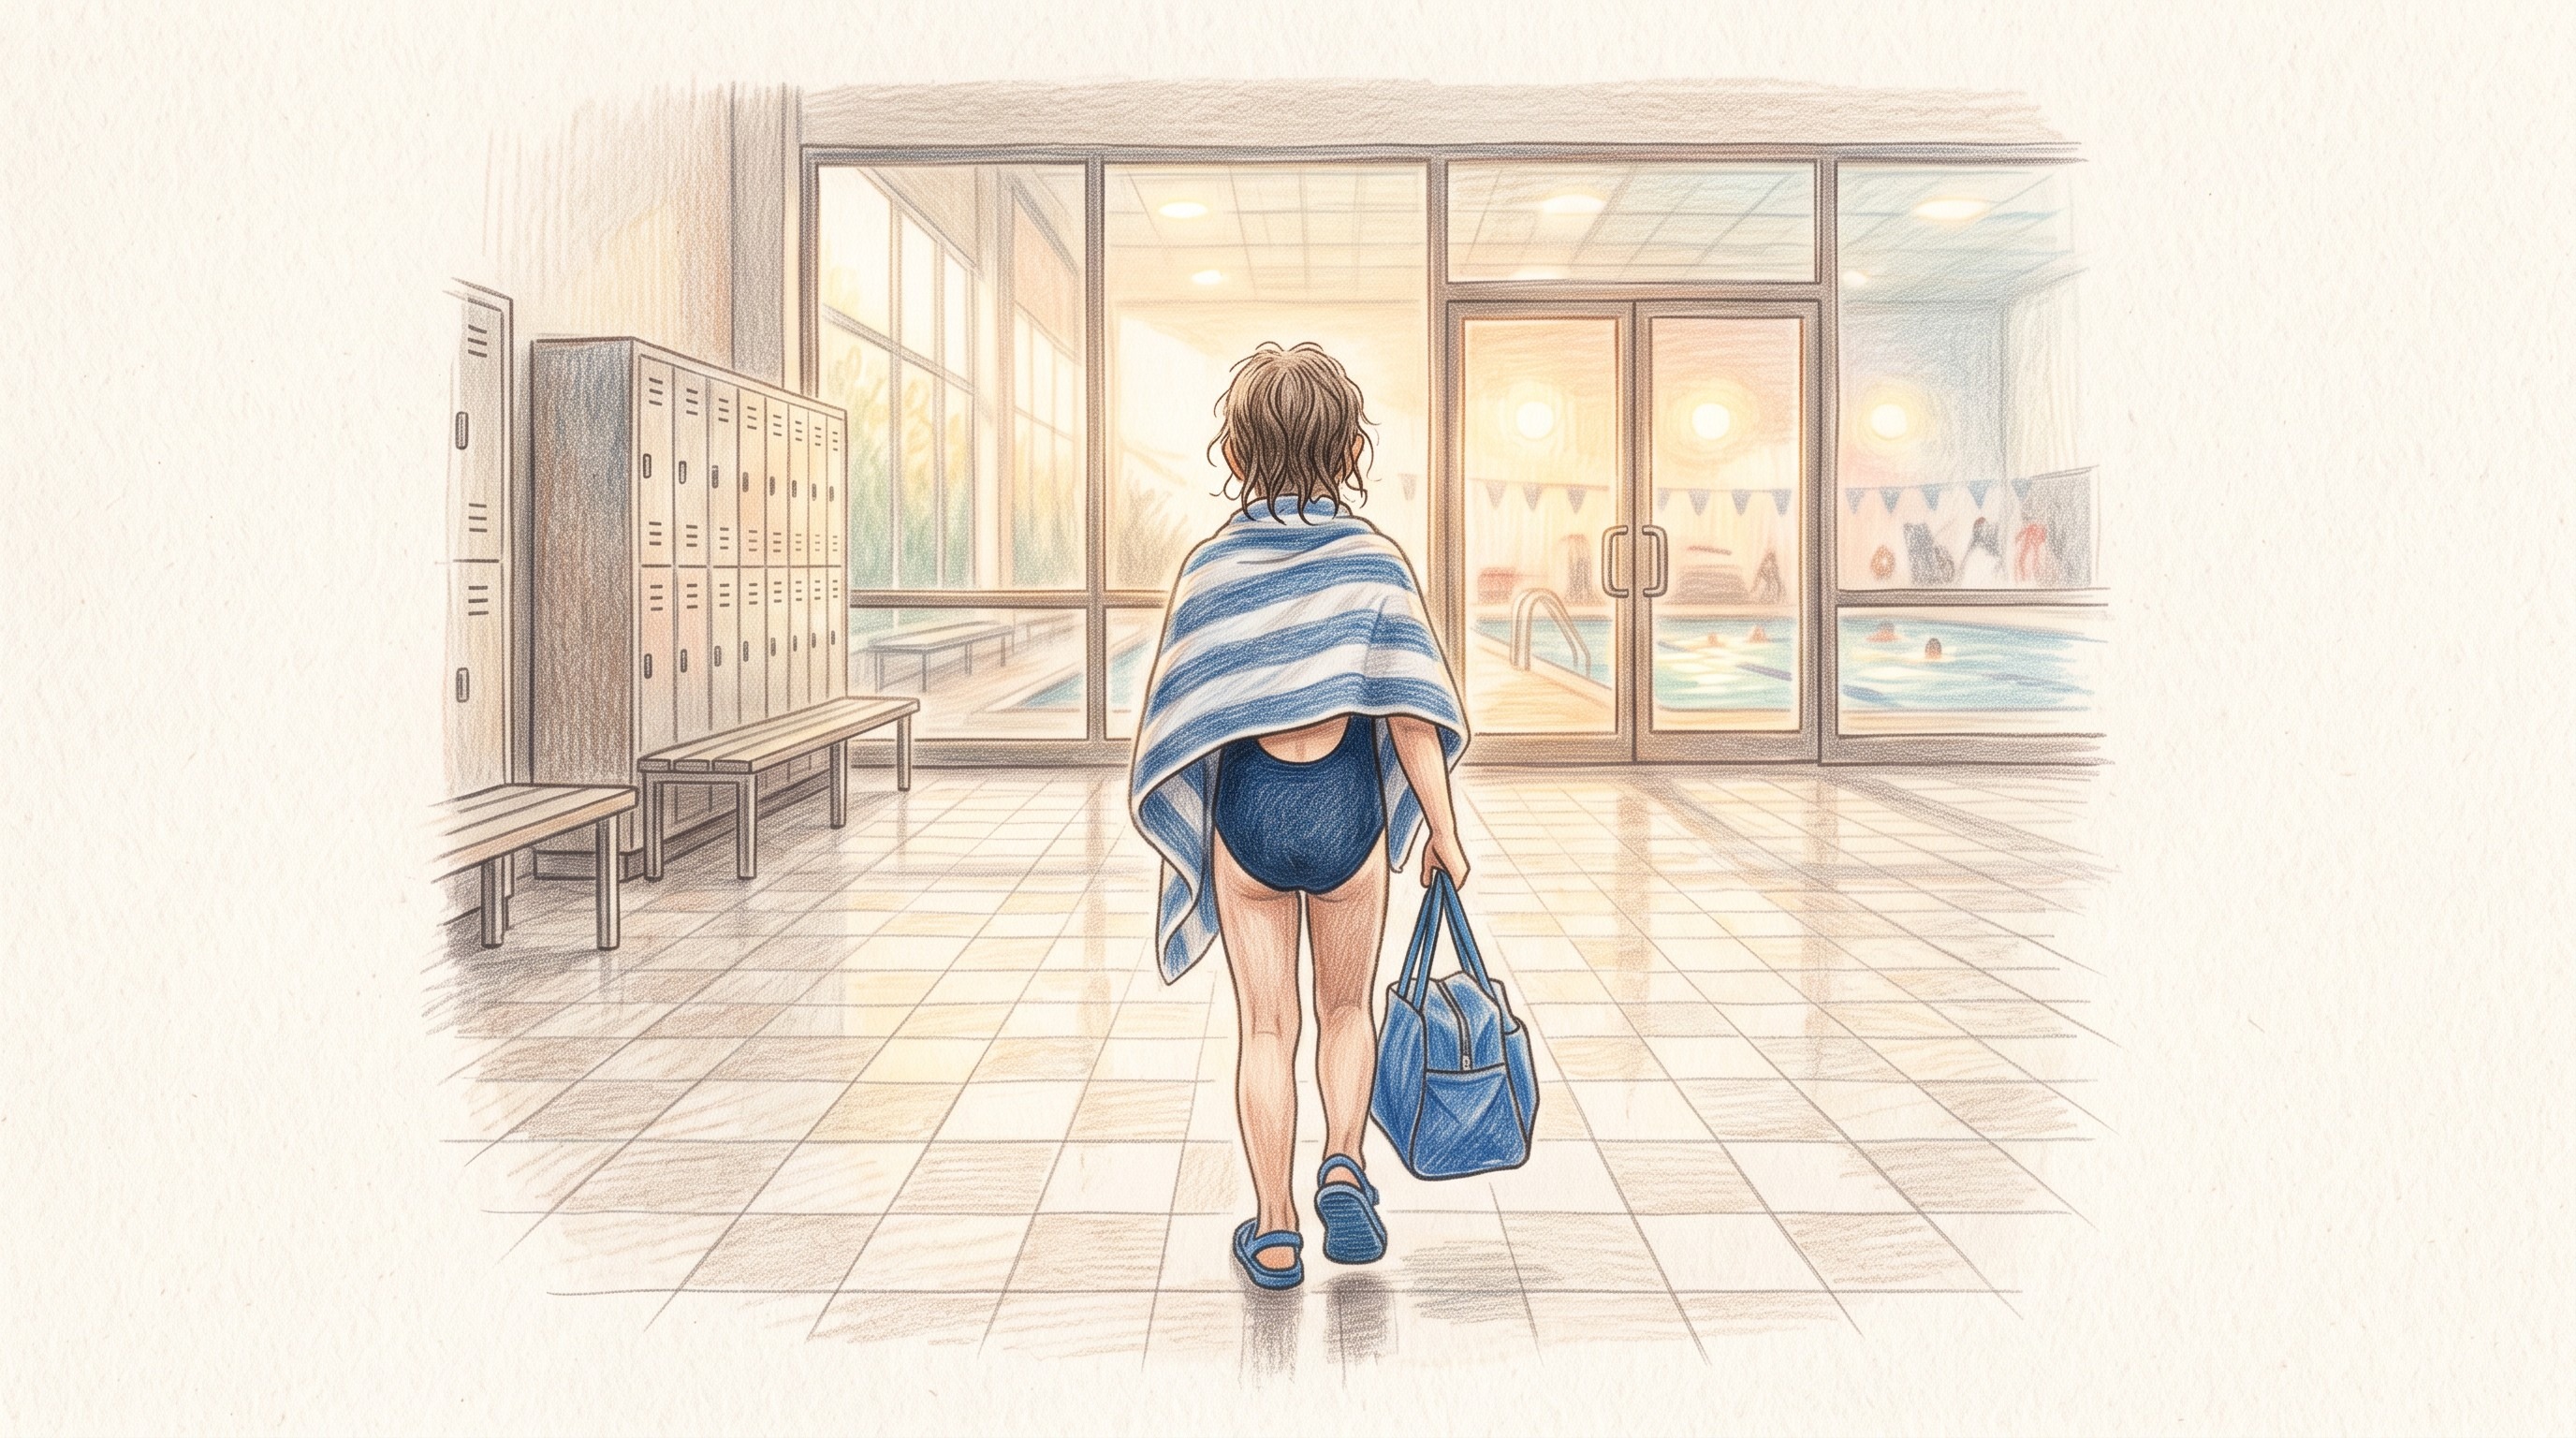
![Changing and Showering at Swim Lessons: How Your Child Learns to Do It Independently [2026]](/_next/image?url=https%3A%2F%2Fzvblogpostimages.s3.eu-west-3.amazonaws.com%2FAUTOMATISCH_UPLOAD%2F1_6b1de9a0536a.jpg&w=3840&q=75&dpl=dpl_GWyfLj8UVegbQ18STkVQms8Vj7LD)
Summary
- Changing and showering around a swim lesson take almost as much time as the lesson itself, so independence saves time every week.
- Dressing is harder than undressing. Most children do it around age 3.5; buttons and laces come later.
- Thirty seconds of showering without soap already rinses away 75 percent of dirt, according to TU Delft research.
- A fixed order plus a checklist on the bag works better than explaining every week what to bring.
- Swim schools that include changing room time in their schedule start their lessons on time.
A 45-minute lesson, and around it almost an hour of buttons, wet towels, lost socks, and a child walking barefoot halfway down the hallway. For many parents, the time around swim lessons is the toughest part of the week.
Yet that time is not wasted. Letting your child shower, change clothes, and carry their bag themselves are skills that grow step by step, just like floating or backstroke. The more your child does independently, the calmer it goes, both at the pool and at home by the front door.
What a child can do independently at each age, which order works in the changing room, and how swim schools organize this, you can read below. The ages come from the developmental guidelines used by child health clinics, supplemented with what swim schools experience weekly in the changing room.
Why the time around the lesson is just as important as the water
A child who puts on their swimwear, grabs their towel, and packs their wet items in the bag themselves benefits from this all week long. Independence is a habit you build with the same methods as swimming: small steps, lots of repetition, and an adult standing beside the child instead of taking over everything.
How a child builds independence
Four-year-olds usually want to do everything themselves until it doesn’t work and tears come. That’s normal. The Dutch Youth Institute describes the effective approach: demonstrate tasks, break them into small pieces, and give compliments when a child tries something, even if it goes wrong. Preschoolers can often dress themselves quite well and indicate when they want to try something alone.
What it saves you in time
Around a 30 to 45-minute lesson, just as much time quickly goes into changing, showering, and closing the bag again. A child who grabs their towel and dresses in the right order saves you about ten minutes of rushing per lesson. Over forty lessons in a year, that adds up to almost seven hours, and that’s without the arguments you don’t have to have in a warm room full of children.
Children who do things themselves become more confident
Self-reliance and self-confidence grow from the same behavior: trying something that doesn’t work yet, persevering, and noticing it works. The NJi calls this the middle ground between protecting, guiding, and letting go. Children between 6 and 12 want more responsibility and need space for that, with a checklist or a fixed spot as support. The same applies to the items that must go to swim lessons every week.

What your child can do independently in the changing room by age
This table is a general guideline, not a measuring stick. Children differ in pace and motor skills, and the Van Wiechen characteristics used by child health clinics show a broad range per skill. Use the table as a starting point and see what your child already does independently in a calm week.
| Age | What usually works independently | Where you still help |
|---|---|---|
| 3.5 to 5 years | Taking off clothes, putting on swimwear, grabbing towel, putting on slippers | Zippers and buttons, drying hair, putting wet clothes in the bag |
| 5 to 6 years | Dressing themselves, shoes with Velcro, packing bag with a checklist | Laces, wringing out swimwear, checking if the bag is closed |
| 6 to 8 years | Showering, drying, packing everything in the bag, walking to the changing room alone | Remembering what to bring, keeping wet items separate |
| 8 to 10 years | Completely independent changing, managing the bag, remembering agreements | Checking when leaving, keys or money, agreeing where to wait |
Getting dressed is harder than undressing
The Dutch Youth Health Center uses putting on own clothes as a measure of independence. The recommended age at which 90 percent of children do this is 42 months, with a range of 39 to 58 months. Undressing goes faster than dressing because a child must know their own body and get arms and legs through the right openings. The NCJ notes that a shirt worn inside out and difficulty with buttons and zippers are completely normal.
Zippers, buttons, and laces come later
Some preschoolers in group 2 already start with laces, but most children learn it during primary school. For swim lesson days, choose clothing without laces: Velcro, elastic bands, and a zipper that doesn’t get stuck. That saves weekly hassle in a damp changing room where your child also has to manage a wet towel.
The difference between children
A child who just overcomes water fear may need a lot of guidance on that one point and at the same time carry their own bag perfectly. In families with multiple children, it often goes wrong the other way: the oldest is helped faster than necessary and the youngest gets less space than they can handle. Look per child which step fits and leave the rest aside.
The order that works in the changing room
Children who dawdle in the changing room are rarely unwilling. They get confused by the order, by wet clothes at the bottom, and by a bag where nothing has a fixed place. A fixed route through the changing room solves this, and that route is the same for a five-year-old and a nine-year-old.
Before the lesson: lay out clothes and check once
At home, lay everything out in one pile: swimwear, towel, a second towel for hair, slippers, and the clothes to put on after the lesson. Let your child check if everything is there, with a checklist on the bag as a memory aid. What a child puts in the bag themselves, they will also find in the changing room.
After the lesson: dry off first, then top to bottom
The fixed order after swimming is: swimwear off, dry off, underwear, shirt, pants, socks, shoes. Children who work from top to bottom are less likely to pull a wet shirt over a wet back and less likely to lose items. Hang wet swimwear immediately over the bag instead of on the bench, because wet clothes among clean clothes are the most common cause of a wet jacket on the way home.
Wet items immediately separate
A separate bag for wet items is the cheapest aid there is. Swimwear, towel, and goggles go in immediately, no stopping. This keeps the rest of the bag dry and no one has to look for a wet swim bag among coats at home.
Check together at the door
Before you leave, go over together once what is in the bag: swimwear, towel, bag, cup. Two minutes of checking at the end of the lesson prevents having to return to the pool in the evening, and children learn that the check is their responsibility. For preschoolers, this is still together; from about eight years old, the child can do it alone and you just watch.
Showering: thirty seconds your child can do independently
Showering before swimming is the hardest moment of the day for most children, yet the moment when your child is least dependent on adults. It is a fixed, short action you can practice at home in the bathroom.
Why showering before swimming really matters
Research from TU Delft shows that after thirty seconds of showering, 75 percent of dirt is already rinsed off the skin. This includes sweat, skin oils, cosmetics, and detergent residues that otherwise end up in the pool water and contribute to the formation of chloramines, the substances behind the familiar chlorine smell and irritation of eyes, skin, and airways. Showering only helps if done without soap and shampoo, as those residues often only rinse off in the pool itself. The RIVM hygiene guideline for pools, wellness complexes, and saunas therefore counts source hygiene as core to the hygiene rules on site.
How to teach your child to shower independently
Start with the same three steps at home in the bathroom: grab the showerhead, get wet from top to bottom, put on swimwear. No soap, no shampoo, but use a timer or a thirty-second song so your child has an idea of how long it takes. Place items at the same height at home as in the pool so a child can reach the tap and showerhead themselves. If it works at home, it usually works at the pool too, even with more noise and more children.
After the lesson: short shower, same order
After swimming, a short shower without soap is enough to rinse off chlorine and sand, followed by drying and dressing in the fixed order. Many children want to leave quickly and skip drying their back and feet. Do those two spots together once and let go of the rest. With a jacket that doesn’t have to go over soaking wet hair, the walk home is also more pleasant.
Clothing and items that cooperate
Independence in the changing room often starts with what’s in the bag. With the right clothing, a child can take steps that are impossible with jeans and buttons.
Choose what your child can close themselves
Elastic bands, Velcro, and a zipper with a large flap are more practical for swim lesson days than buttons and a belt. Think of sweatpants instead of tight pants, a shirt with a wide neck, and a vest your child can close themselves even with wet hair. Leave clothes your child can’t manage at home on that day.
Slippers, bathrobe, and own towel
Slippers go on faster than sports shoes and protect against slippery tile floors. A bathrobe is handier for preschoolers than a towel wrapped around the body because it stays on while your child gets their clothes. A personal, recognizable towel and a recognizable bag prevent lost items: choose a color or label your child can find among ten other swim bags.
A bag with a compartment for wet and dry
A swim bag with a separate, waterproof compartment next to the main compartment makes the separation between wet and dry visible and thus doable for a child. This way, a child doesn’t have to remember that the towel shouldn’t be between clean clothes. If that separation isn’t there, a sturdy plastic bag in a fixed side pocket also works.
Practice on dry land: ten minutes per week
Everything that must succeed at the pool can be calmly practiced at home. Ten minutes per week is enough, as long as it’s always the same order.
Do the same order at home as at the pool
After bathing, practice the whole sequence: drying off, taking off swimwear, underwear, putting on clothes, putting wet items in the bag. Let your child name the steps before starting. Children who can say the order aloud no longer need instructions in the changing room. Do it at a calm moment, not on a morning when you have to rush.
Let a checklist do the work
A checklist with pictures or words on the bag takes over your memory role. The NJi calls hanging such a list one of the ways to let a child pack independently, even if it goes wrong the first few times. Repeat the same six things in the same order in the same place, then it becomes a routine, not a task.
What you better leave alone
Taking over when it gets difficult is the fastest way to give up independence again. Let your child try first, even if the shirt goes inside out, and then help with the last part. Expect more time than strictly necessary in the first weeks. Rushing and correcting in a damp changing room with thirty other children backfires because stress takes over and no one learns anything.
When things go wrong
There will be a lesson when the bag falls in the pool, the socks are wet, or the child stands crying halfway down the hallway. That is normal, and with a small safety net, the afternoon remains calm.
Spare clothes at the bottom of the bag
An extra pair of underwear, socks, and a shirt in a bag at the bottom. They take little space and make the difference between a child sitting wet in class the rest of the day and a child who changes in the changing room and continues. Pack them together with a towel in the bag, not separately in the car.
Allow ten extra minutes in week one
Build in margin in the first weeks of a new swim season: ten extra minutes before the lesson and ten minutes after. Those under time pressure take over and rush, and that’s exactly when the independence you are building disappears. Put the lesson time in the agenda with changing time included.
Staying calm is faster than correcting
Say once what needs to happen and then help with your hands, not with more words. A child crying in the changing room doesn’t need explanation but a towel. The lesson is often easier next time because the child then recognizes the route.
What a swim school can arrange
Everything above helps parents, but it is also a scheduling issue for the swim school. How you organize changing room time and inform parents determines whether a lesson starts on time or runs ten minutes late every week.
Include changing room time in your schedule
The time after the lesson belongs to your lesson block. Count the changeover time per group and see where it bottlenecks: with a group of twelve children, the changing room is the bottleneck, not the pool. In the app you see your groups with day, time, and level and the occupancy per group, so you can see which changeover moments are tight before parents complain. With a waiting list and catch-up groups with extra spots, you solve gaps without scheduling an extra lesson block.
Give the changing room instruction once, at the first lesson
A short explanation at the first lesson saves months: where is the shower, where to hang the bag, where to wait after the lesson. Put the same agreements together in one place instead of a weekly verbal reminder at the pool edge. Newcomers get this explanation during the introduction, even if it must be in another language.
Communicate with parents via one channel
Checklists, different times, and a call about lost clothing: you want all that in one place, not spread over three WhatsApp groups and a bulletin board. In Swimmigo, school and parents can exchange messages with read receipts, the school sees who read each message, and notifications automatically appear in the recipient’s language. Parents also see their child’s progress per skill as soon as the instructor updates it, so after a lesson there is something tangible instead of a vague report. Parents use the app for free, and a school chooses a subscription with 30 days free trial once the first student is linked.
Same habit, different rituals per country
Independence around swim lessons is the same goal everywhere, with different agreements per country and pool about showering, clothing, and pickup.
Pre-showering is the norm in the Netherlands, elsewhere a recommendation
In the Netherlands, pre-showering is a fixed habit and mandatory at many pools; in other countries, it is at most a recommendation, and in some countries there is no shower area at the pool at all. For parents who move or go on vacation, it’s worth reading the new pool’s rules in advance and preparing your child for them. The fixed order of dressing and the own bag work everywhere.
One app for parents and schools in five languages
Swim lessons are not equally common in every country. According to WHO, about 300,000 people drown worldwide each year, and drowning is the third leading cause of death among children aged 5 to 14. In the Netherlands in 2024, still 14 percent of children between 6 and 12 years old had no swimming diploma. Swimmigo is available in Dutch, English, German, French, and Spanish so parents and swim schools who do not speak the same language can still understand each other.
Conclusion
With a fixed order, clothing a child can close themselves, and ten minutes of practice per week, your child will eventually do most things independently. That saves rushing, wet jackets, and lost socks every week.
For swim schools, the gain is on the other side of the pool edge: including changing room time in the schedule, giving a clear instruction once at the first lesson, and one channel through which parents hear everything. Those agreements save time every week, whatever language a parent speaks.
Also discover
- What to bring to swim lessons? Practical tips
- Complete overview of tracking swim lesson progress: for parents and swim schools
- How swim lessons strengthen your child’s self-confidence
- Swimmigo for parents, for swim schools and the subscriptions
Sources
- Dutch Youth Institute: Preschooler, experiencing and learning independence, consulted September 2026
- Dutch Youth Institute: Child 6 to 12 years, independence, consulted September 2026
- Dutch Youth Health Center: Van Wiechen characteristic 25, puts on own clothing, consulted September 2026
- ZwembadBranche: showering before swimming, great impact on pool water quality, with research by Keuten and Peters, TU Delft, 2018
- RIVM: hygiene guideline for saunas, wellness complexes, and pools, May 22, 2025
- Mulier Institute: more children earn all three swim diplomas, vulnerable children’s swimming skills lag behind, 2024
- WHO: Drowning fact sheet, updated May 1, 2026
Bob van Soest
As an expert in operating sports facilities (such as swimming pools) and developer of, among others, Swimmigo.com, I am passionately committed to making swimming lessons simpler, more fun and more insightful for parents, swimming instructors and everyone who wants to learn to swim.
Frequently Asked Questions
Related articles
![How Swimming Lessons Contribute to Your Child’s Development: More Than Water Safety [2026]](/_next/image?url=https%3A%2F%2Fzvblogpostimages.s3.eu-west-3.amazonaws.com%2FAUTOMATISCH_UPLOAD%2F1_4a34b35175e7.jpg&w=3840&q=75&dpl=dpl_GWyfLj8UVegbQ18STkVQms8Vj7LD)
How Swimming Lessons Contribute to Your Child’s Development: More Than Water Safety [2026]
Swimming lessons stimulate motor skills, cognition, and social growth in children. Discover how swimming lessons contribute to development, backed by scientific insights.
![Swimming as Medicine: The Proven Health Benefits of Swimming Lessons for Children [2026]](/_next/image?url=https%3A%2F%2Fzvblogpostimages.s3.eu-west-3.amazonaws.com%2FAUTOMATISCH_UPLOAD%2F1_19c95e0c14ad.jpg&w=3840&q=75&dpl=dpl_GWyfLj8UVegbQ18STkVQms8Vj7LD)
Swimming as Medicine: The Proven Health Benefits of Swimming Lessons for Children [2026]
Swimming is more than water safety. Discover how swimming lessons improve children's health: from reducing asthma to better motor skills and social abilities.
![How Swimming Lessons Boost Your Child's Confidence: More Than Just a Diploma [2026]](/_next/image?url=https%3A%2F%2Fzvblogpostimages.s3.eu-west-3.amazonaws.com%2FAUTOMATISCH_UPLOAD%2F1_33ab6dce26ef.jpg&w=3840&q=75&dpl=dpl_GWyfLj8UVegbQ18STkVQms8Vj7LD)
How Swimming Lessons Boost Your Child's Confidence: More Than Just a Diploma [2026]
Discover how swimming lessons enhance your child's confidence through micro-victories. From fear to self-assured, the mental growth behind every swimming lesson.
Discover Swimmigo
The all-in-one app for swimming lesson progress. For parents, swim schools, and adult swimmers.