Teaching Your Child to Float: How to Do It in Small Steps
Summary
- Floating is the first skill in every swimming lesson: whoever can float can rest and breathe in the water.
- For the national A diploma, a child must float five seconds on the stomach and ten seconds on the back.
- Practice in small steps: first get used to it and blow bubbles, then float with support, then a few seconds without support.
- Always stay within arm’s reach, even in the bath. Floaties and armbands don’t teach a child to float.
- In the free Swimmigo app, you can see per level which skills your child already masters and what you can practice at home.
Your child wants to swim but lies stiff in the water. Or they immediately go under as soon as their feet leave the bottom. Many parents recognize this: the instructor says floating is the base, but at home you don’t really know how to help.
You can teach floating step by step, and you can start easily at home. This plan shows how to teach your child to float on their stomach and back, without pressure and without expensive aids.
Why floating is the first step in every swimming lesson
In almost every swim program worldwide, floating comes before the strokes. Whoever can float can rest and breathe and won’t panic when the water gets deeper. Whoever can’t float uses all their energy just to stay afloat and learns very little new.
The progression is the same everywhere. The British Swim England Learn to Swim curriculum, for example, works with seven phases, from basic water skills to independent swimming, and recommends children take lessons through the last phase. In the Netherlands, floating is also part of the exam: for the World Health Organization: drowning facts and figures, a child must be able to float five seconds on the stomach and ten seconds on the back.
Floating is a posture, not a trick
Floating has little to do with strength. A person floats because air in the lungs acts as a buoy. Whoever stays relaxed and breathes calmly naturally lies higher in the water. Whoever tenses up sinks. That explains why the same child floats well one day and not the next: tension makes the difference, not ability.
Why some children learn to float faster than others
Body build plays a role: some children simply have more buoyancy than others. More important is fear. A child afraid of water on their face holds their head up, hips drop, and floating becomes nearly impossible. The approach is the same for all children: get used to it, relax, and practice in small steps.
Safe practice: three rules that really matter
Worldwide, an estimated three hundred thousand people drown annually, and children under five account for nearly a quarter of those victims, reports the World Health Organization. In the Netherlands, it’s not uncommon either: in 2025, one hundred residents drowned, World Health Organization: drowning facts and figures show an average of 93 per year over the past decade. Drowning is silent and fast, even in shallow water, even while practicing floating. That’s why these three rules apply.
Rule 1: stay within arm’s reach, even in the bath
The World Health Organization is clear: the risk of drowning rises once children are in or near water without active adult supervision. A child who cannot swim should always be within arm’s reach. Even in the bath, even in a toddler pool, even if floating is starting to work. Practice floating in shallow water where you stand next to them, never in deep water or open water.
Rule 2: flotation aids don’t teach your child to float
Floaties and armbands give a child a false sense of security. A child who always relies on them gets used to a vertical position and doesn’t develop a water feel. The moment the aids come off is the most dangerous. In this overview about floaties you can read what each aid can and cannot do.
Rule 3: practice only on a good day
A child who is tired, cold, or hungry learns nothing. And a child who cries learns nothing at all. Keep sessions short, make sure the water is comfortably warm, and always stop before the child loses interest. A child who has to leave the water crying will be less eager next time.
Swimmigo · Swim lesson app
Free for parents
Follow your child's swimming progress, see where you stand and report absences in the app.

Floating on the stomach: three effective steps
Don’t start with floating, start with the face. A child who blows bubbles and dares to put their cheeks in the water is already almost horizontal. The progression goes like this.
Step 1: get used to blowing bubbles
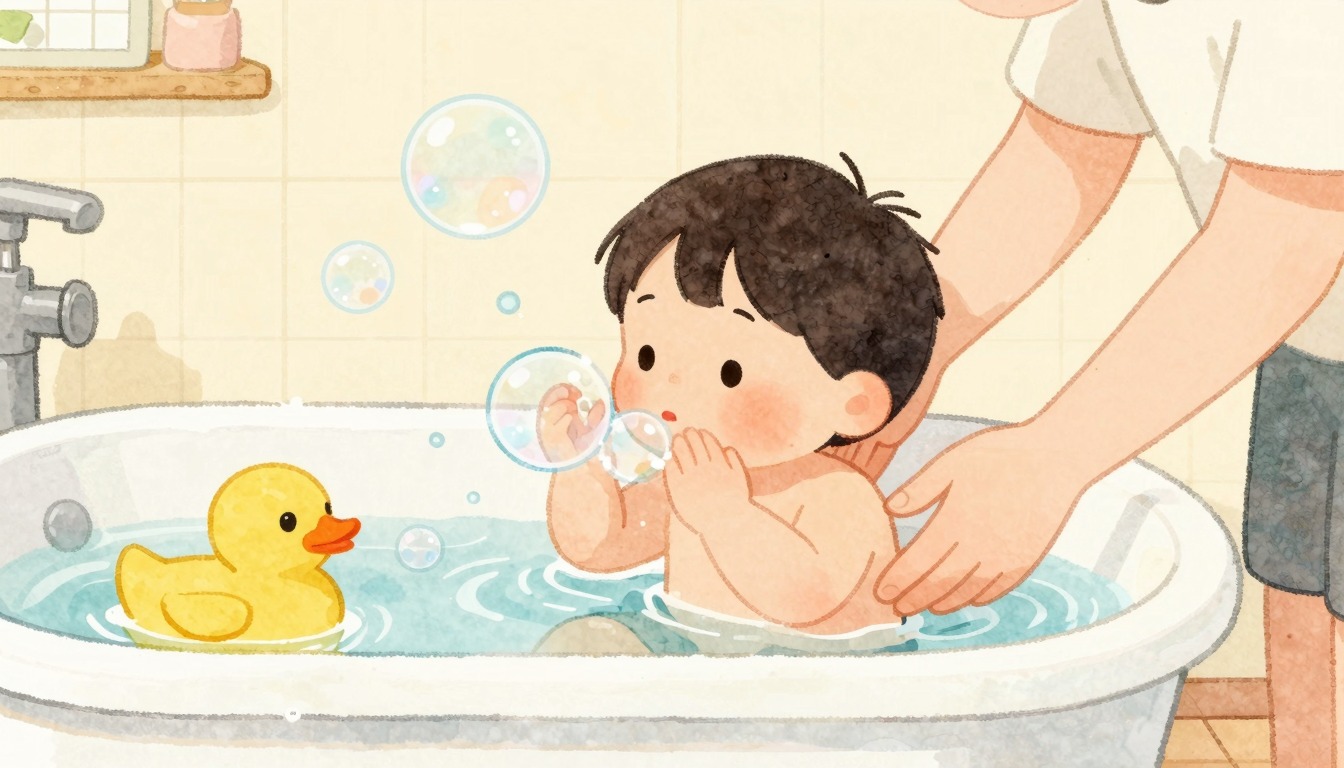
Let your child get used to water on their face in the bath or shower. First wet the head, then close eyes and put the mouth in the water. Blowing bubbles is the first real exercise: whoever blows bubbles lies face down and learns that exhaling underwater is normal. Make it a game: who makes the most or biggest bubbles?
Step 2: floating with support
The most familiar exercise is the starfish. Your child lies on their stomach, arms and legs spread, and you hold their belly or chest from underneath with both hands. The head can be up or to the side. Let your child hold the air in their lungs and count out loud: three, four, five. This way the body gets to know the horizontal position without anything going wrong.
Step 3: a second longer without support
Once the starfish feels calm, remove one hand. Then two, first for two seconds, then three. Stay nearby to catch if needed and make it a game: how long can you float? For the A diploma, five seconds floating on the stomach is the standard, but at home it’s not about the standard. It’s about your child discovering that the water supports them.
Floating on the back: why it’s scary and how to build it up
Back floating is the hardest step for many children. Their view disappears, control feels gone, and their head lies in the water. That tension is normal, and you don’t fix it by saying it’s not scary, but by making the feeling familiar step by step.
First get used to the feeling
Let your child practice leaning back at home: head in your hands, ears underwater in the bath, looking at the ceiling. You can also practice the posture on dry land, lying on the floor with a pillow under the head. This way the body gets used to the stretched position before water is involved.
With support, then without
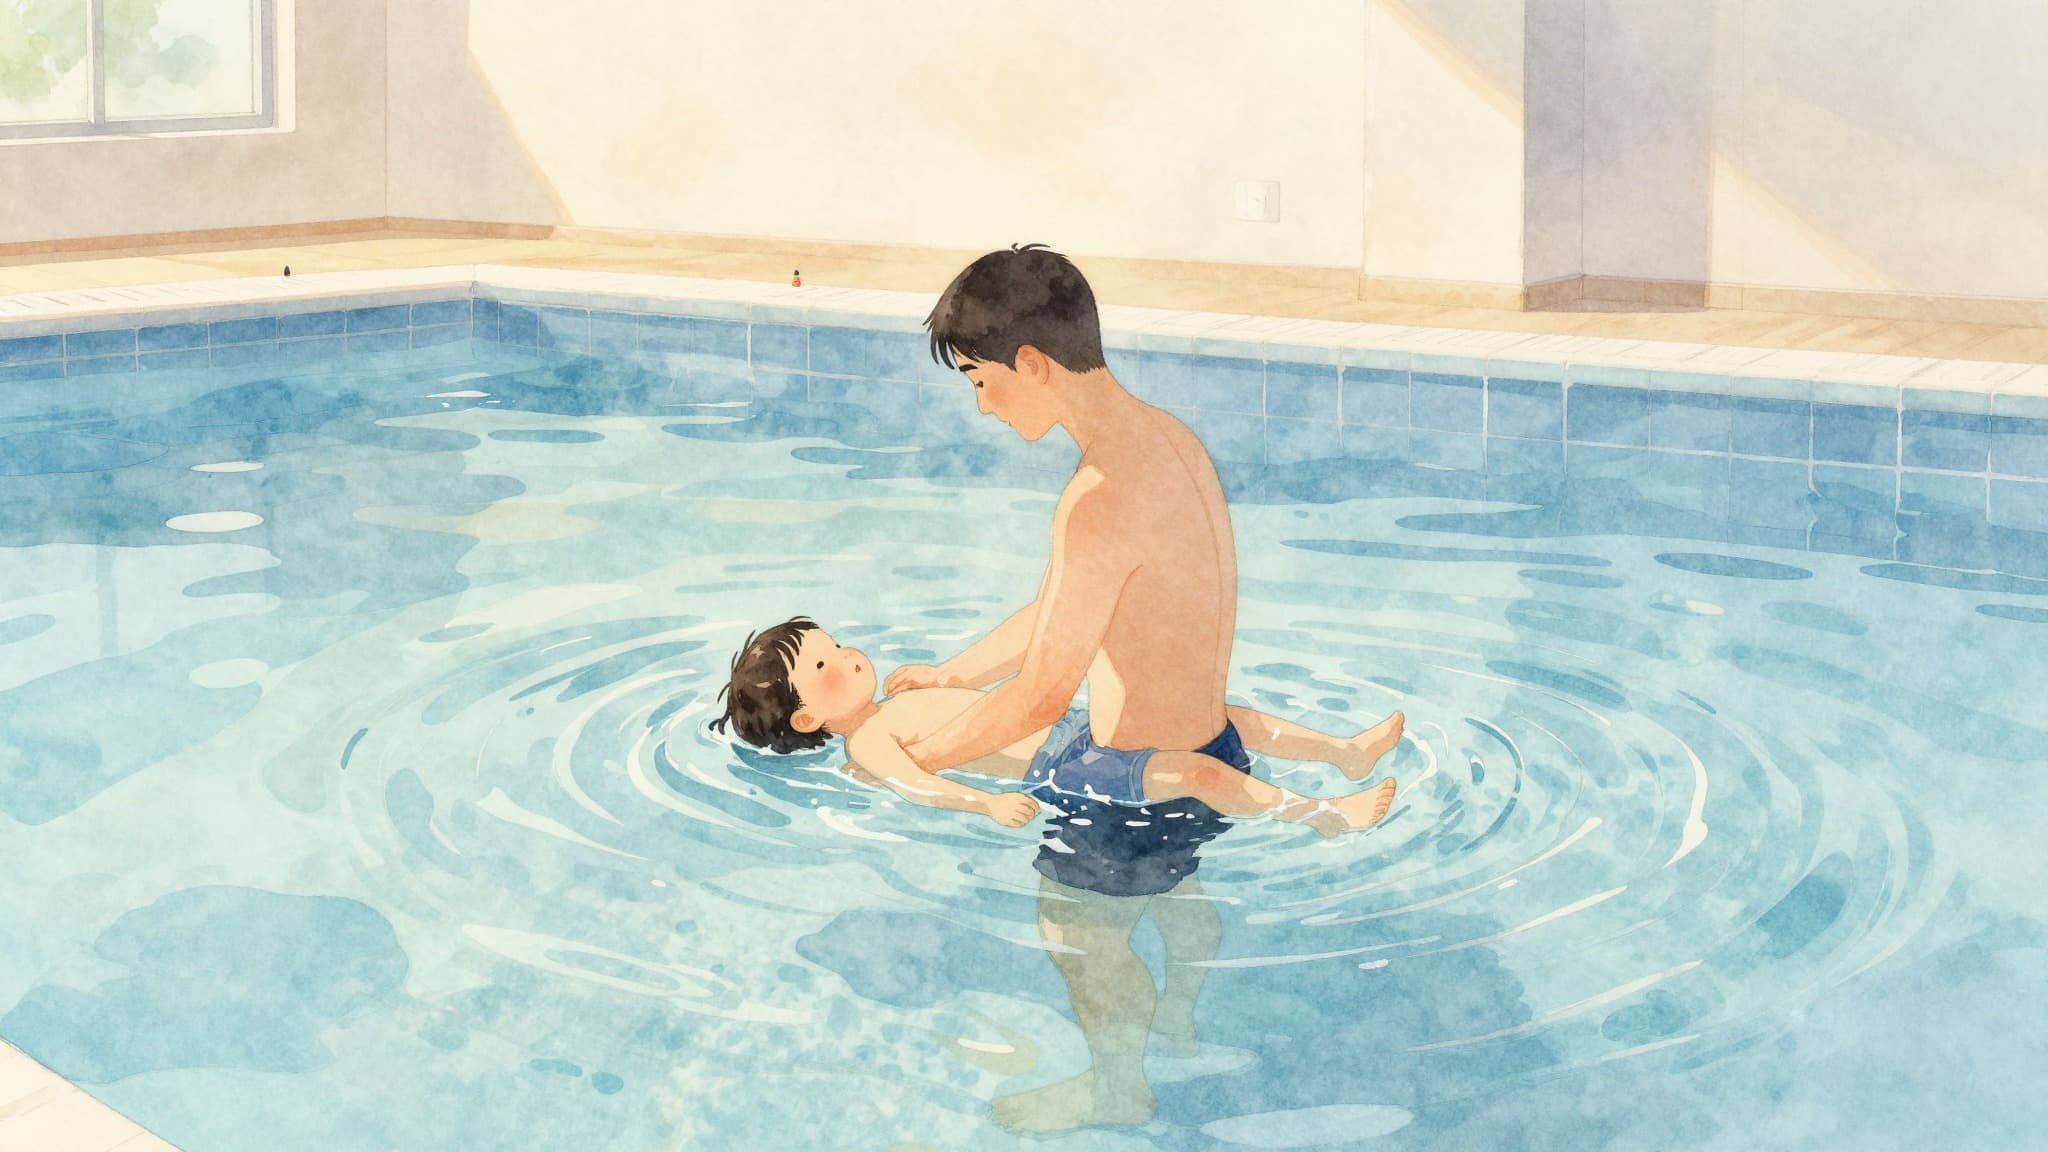
In the pool, place one hand under the head or neck and one hand under the lower back. Your child lies stretched out, looks upward, and may push their belly toward the ceiling. Gradually reduce support: first remove one hand, then just your fingertips, then a few seconds without support while you stay close to catch.
Ears underwater, belly up
The posture determines whether floating works. Ears in the water, chin away from the chest, belly up, and legs stretched but not stiff. The most common mistake is a child tucking the chin and basically sitting in the water, causing the hips to drop. Don’t say what’s wrong, but give a fixed point: look at the ceiling or the light above the bath.
Breathing and relaxation: the quiet foundation
Exhaling underwater as the first step
Many children instinctively hold their breath when water touches their face. That causes tension in the shoulders and neck, and tension makes floating harder. Practice exhaling: first blow out a candle above water, then do the same in the bath with the mouth underwater. Blowing bubbles is nothing more than exhaling calmly, and a child who exhales calmly lies relaxed in the water.
Relaxing on dry land
Floating partly starts outside the water. Let your child lie on the floor and together feel where tension is: shoulders up, stiff neck, clenched fists. Shake it out, then breathe calmly. A child who can lower their shoulders takes that relaxation into the water.
How floating practice fits into your week
In the bath, pool, or on dry land
Each place has its own exercises. In the bath, you work on getting used to water on the face, blowing bubbles, and leaning the head back with ears underwater. In the pool, you do the real floating exercises in shallow water, with you nearby. On dry land, you practice posture and relaxation. This way floating becomes a habit instead of a task, and that’s exactly how it should be.
Short sessions, fixed moments
Five minutes a day works better than one hour on the weekend. Link it to a fixed moment, for example bath time or weekly swimming. Short and regular sessions help the body remember the posture and keep it fun for both.
Practice what the lesson requires
The fastest progress comes from practicing at home what the swim school asks for at that moment. In the free Swimmigo app for parents you can see per level which skills your child already masters and which are coming, with the same seven levels and 86 exercises instructors use. If back floating is on the program, you know to work on that at home and not on swimming laps. The app is available in five languages and used worldwide, so even if your family doesn’t live in the Netherlands, the progression is the same.
Common mistakes when learning to float
Letting go too quickly
Letting go while the posture isn’t stable causes fright, and a scared child tenses up. Next time it’s harder instead of easier. So reduce support very gradually and only let go when your child stays calm without your hands.
Turning practice into a performance test
Floating only works if the body is relaxed, and relaxation disappears as soon as pressure arises. Questions like “can you do it now?” don’t help. Count together, play the starfish game, and let progress show in what your child demonstrates.
Continuing despite resistance
If your child cries, tenses up, or insists on holding the edge, the moment is over. Stop, do something fun in the water, and try again another day. Resistance is not unwillingness, it’s a signal the step is too big. Take a step back to getting used to it and playing.
When is your child ready for the next step?
Once floating happens naturally, arms and legs can join in. A common rule in swimming: a child can only start a stroke if they can float relaxed for ten seconds, otherwise all energy goes to staying afloat instead of technique.
Want to know what you as a parent can do yourself and when you need a swim school? In this overview about teaching your child to swim yourself you’ll find the honest story. The swim school ultimately assesses if your child masters the skills for a real diploma. You provide the confidence at home, and that’s just as important.
Conclusion
You can prepare floating step by step at home. Start small, stay close, and make it a game; the strokes come only when floating is relaxed. A swim school provides the diplomas and real swim safety, you provide the confidence in the water.
Swimmigo · Swim lesson app
Free for parents
Follow your child's swimming progress, see where you stand and report absences in the app.
Sources
- WHO: Drowning fact sheet, updated May 1, 2026
- World Health Organization: drowning facts and figures, news release November 10, 2025
- World Health Organization: drowning facts and figures, July 2026
- Swim England: Learn to Swim Programme, accessed September 2026
- World Health Organization: drowning facts and figures, National Swimming Diploma Exam Regulations

Bob van Soest
As an expert in operating sports facilities (such as swimming pools) and developer of, among others, Swimmigo.com, I am passionately committed to making swimming lessons simpler, more fun and more insightful for parents, swimming instructors and everyone who wants to learn to swim.
Frequently Asked Questions
Related articles
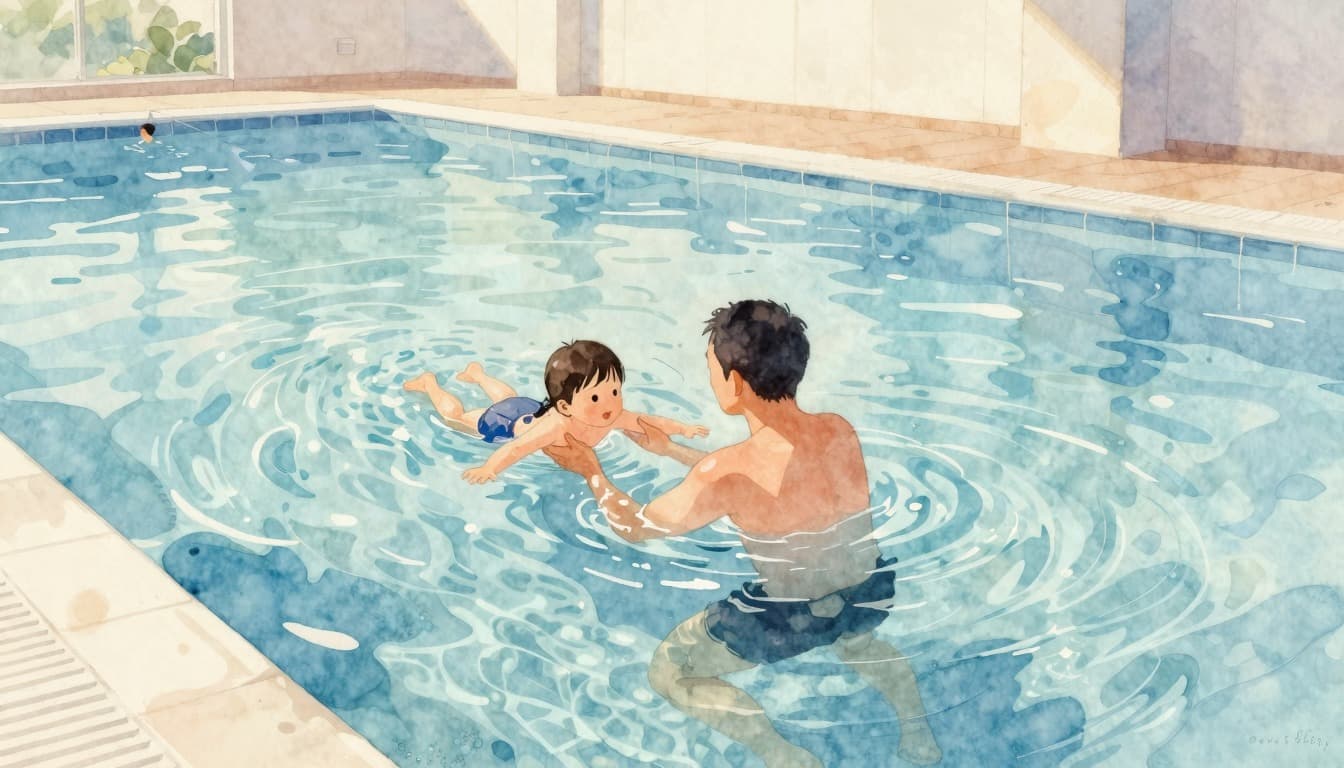
Teaching Your Child to Swim Yourself and Practicing at Home: Is It Possible Without Swimming Lessons?
Teaching your child to swim yourself is partly possible without swimming lessons: becoming water confident and practicing at home works. Read which exercises help and when swimming lessons remain indispensable.
Swim diploma in two weeks: does turbo swimming lessons really work?
Turbo swimming lessons or holiday course: can your child get a swim diploma in two weeks? This is what an accelerated program looks like, what it costs, and who it works for.
Teaching Your Child to Swim When You Can't Swim Yourself: What You Can Do
Your child goes to swimming lessons while you cannot swim yourself. This is how you follow the progress, practice at home, and arrange supervision without entering the water.
Discover Swimmigo
The all-in-one app for swimming lesson progress. For parents, swim schools, and adult swimmers.